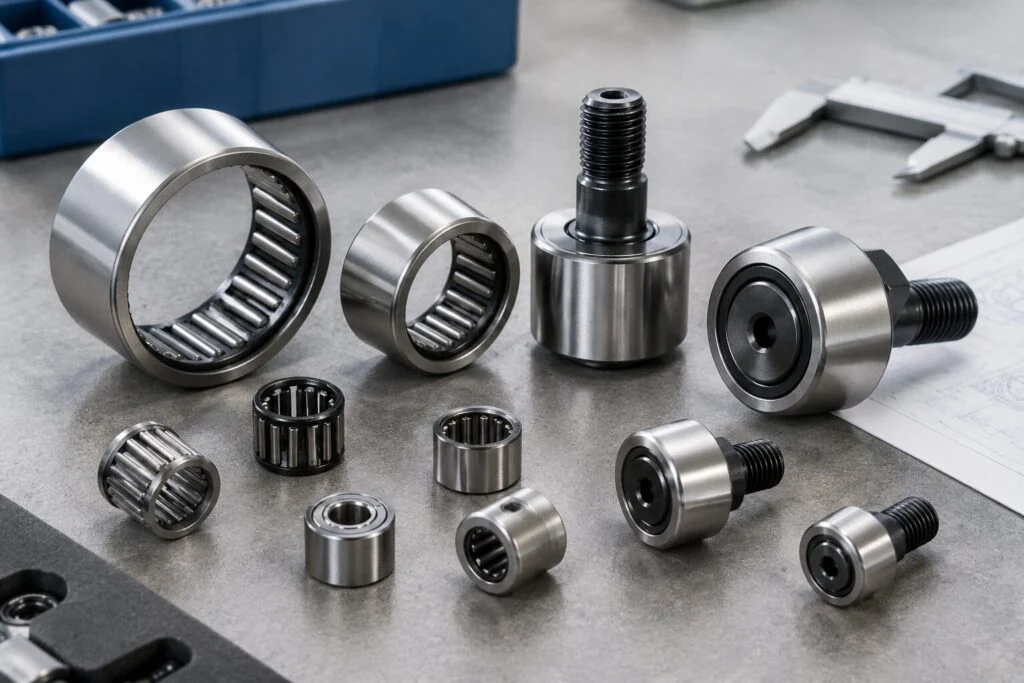
INA Needle Bearing Damage Analysis: Wholesale Supplier for Bulk Orders
Most bearing failures are not manufacturing defects; they are maintenance oversights.
Visual inspection of field photos reveals that the majority of INA needle bearing damage stems from lubrication starvation and improper installation fits, rather than material fatigue. Identifying these root causes through discoloration, cage fragmentation, and surface spalling allows maintenance teams to implement corrective strategies that prevent recurrent downtime. For distributors and MRO operators, understanding these failure modes is critical when sourcing replacements, as it ensures the selected INA needle bearing damage field photos align with actual operational conditions rather than assumed quality issues.
I still remember the smell of burnt grease in a stamping plant near Ningbo. A batch of needle bearings had failed within weeks of installation, and the procurement team was ready to file a claim against the manufacturer. I spent an afternoon crouching next to the press, picking out twisted metal fragments from the housing. The rollers were blue, and the cage was shattered into dust. It was not a bad batch of steel; it was dry friction caused by insufficient greasing intervals. That day, I learned that the most expensive part of a bearing is not the purchase price, but the downtime caused by misdiagnosing its failure. This experience shapes how I approach technical support today, focusing on root cause analysis before replacement.
Understanding these visual cues helps buyers make informed decisions when evaluating an INA needle bearing damage field photos library for training or diagnostic purposes.
What Do INA Needle Bearing Field Photos Reveal?
Discoloration and structural breaks are direct indicators of specific operational stresses.
When reviewing INA needle bearing damage field photos, the first thing to look for is the color of the rolling elements and the integrity of the cage. Blue or brown hues on the rollers indicate overheating, which is almost always a result of inadequate lubrication or excessive preload. In contrast, silver or gray spalling on the raceways suggests contamination or fatigue from prolonged use under heavy loads.
A common misconception is that all surface damage looks the same. However, the pattern of wear tells a distinct story. For instance, in a conveyor roller scenario I observed at a logistics hub, the outer ring showed signs of creep. The fit was too loose, allowing the ring to rotate slowly within the housing. This movement generated heat and wore down the housing bore, a issue that no amount of high-quality grease could fix. The solution was not a better bearing, but a corrected fit tolerance.
By analyzing these patterns, maintenance teams can distinguish between installation errors and operational abuse. This distinction is vital when consulting with an INA needle bearing damage field photos resource to ensure accurate diagnosis.
How to Identify Dry Friction and Lubrication Failure?
Blueing on rollers and degraded grease confirm dry running conditions.
Dry friction is the silent killer of needle bearings. Unlike ball bearings, needle bearings have a high surface contact area, making them particularly sensitive to lubricant film thickness. When the oil or grease film breaks down, metal-to-metal contact occurs, generating intense local heat. This heat changes the metallurgical structure of the steel, leading to the characteristic blue discoloration.
In a textile machinery case, I noticed that the rollers were covered in a black, gritty paste. This was not just old grease; it was a mixture of degraded lubricant and fine fiber particles. The contamination had acted as an abrasive, accelerating wear and blocking fresh lubricant from reaching the contact zones. The bearing had not failed due to load, but because the lubricant had turned into a grinding compound.
[NEED_CITE: ISO 15243 classification of wear mechanisms related to lubrication failure]
To prevent this, regular inspection of the lubricant condition is essential. If the grease appears dark, hard, or contains particulates, it is time for a change. Ignoring these signs leads to rapid temperature rise and eventual seizure. For those studying INA needle bearing damage field photos, recognizing the texture of failed lubricant is as important as spotting the metal damage.
This visual evidence underscores why lubrication management is a critical component of bearing life extension, a key topic in any INA needle bearing damage field photos analysis guide.
What Steps Ensure Proper Installation to Prevent Damage?
Correct fitting tools and precise clearance control eliminate mechanical stress.
Improper installation is responsible for a significant portion of premature bearing failures. Using a hammer to drive a bearing into place is a recipe for disaster. The impact forces can dent the raceways, misalign the rollers, or damage the cage. Instead, proper tools such as hydraulic presses or induction heaters should be used to ensure uniform force distribution.
One critical parameter is the fit tolerance. A fit that is too tight creates excessive preload, leading to overheating. A fit that is too loose allows for creep, causing housing wear. Verifying the shaft and housing dimensions against the manufacturer’s specifications is a non-negotiable step. In my early days, I saw a technician use a torch to heat a housing, but he overheated it, changing the metal’s hardness. The bearing slipped in easily, but failed shortly after due to the softened housing.
[NEED_CITE: Bearing manufacturer technical manuals on installation methods and fit tolerances]
A simple checklist can prevent these errors:
- Verify shaft and housing dimensions.
- Clean all components thoroughly.
- Use appropriate installation tools.
- Check rotation smoothness after installation.
Following these steps ensures that the bearing performs as designed. For buyers referencing INA needle bearing damage field photos, seeing examples of installation damage can help train staff to avoid these common pitfalls.
How to Source Genuine Replacements for Failed Bearings?
Verifying traceability and consulting technical support ensures correct part selection.
Once the root cause is identified, sourcing the correct replacement is the next step. The market is flooded with counterfeit or substandard bearings that may look identical but lack the material quality and precision of genuine products. For industrial distributors and MRO operators, ensuring authenticity is paramount to maintaining equipment reliability.
Genuine bearings come with complete traceability documentation, including material certificates and batch numbers. This documentation is not just paperwork; it is proof of quality. When dealing with urgent replacements, having access to a supplier with a large spot inventory and mixed-brand sourcing capabilities can significantly reduce downtime. Instead of waiting weeks for a single brand, a flexible supplier can offer equivalent models from reputable manufacturers like SKF, FAG, or NSK, ensuring the machine gets back online quickly.
[NEED_CITE: Guidelines on verifying bearing authenticity and traceability documentation]
Moreover, technical support plays a crucial role. A supplier who understands failure analysis can recommend upgrades or alternative solutions based on the specific damage observed. For example, if contamination is the issue, they might suggest sealed bearings or improved sealing systems. This level of support transforms a simple transaction into a strategic partnership.
For those managing bulk orders or emergency spares, working with a reliable INA needle bearing damage field photos informed supplier ensures that the replacements are not just parts, but solutions.
Conclusion
Accurate diagnosis precedes effective replacement.
Identifying the root cause of bearing failure through visual inspection prevents recurrent issues and extends equipment life. By understanding the signs of dry friction, improper installation, and contamination, maintenance teams can take proactive measures. Sourcing genuine replacements from a trusted supplier with technical expertise ensures long-term reliability and operational efficiency. Whether you are analyzing INA needle bearing damage field photos for training or preparing a bulk order, prioritizing quality and correct diagnosis is the key to minimizing downtime.